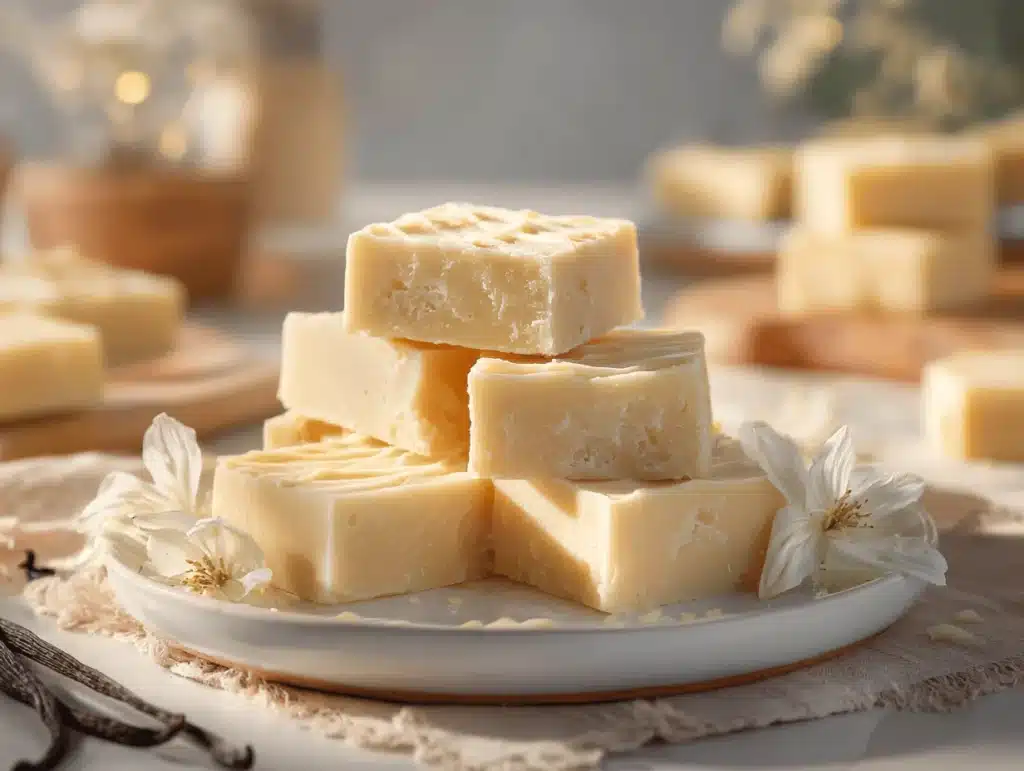
Warm, sweet vanilla fudge—just saying the words makes my mouth water and my kitchen feel cozier. The scent alone is enough to drag everyone out of their rooms, and honestly, that’s half the fun of making this very vanilla fudge recipe. I first stumbled on homemade fudge as a kid, watching my grandma swirl together sugar and butter until the kitchen was blanketed in that unmistakable toasty vanilla aroma. It was less about perfection and more about the process, sticky fingers and all.
This very vanilla fudge recipe is a little love letter to those memories, but with a modern twist that makes things way easier (and less messy, thank goodness). You don’t need candy thermometers or any fancy tricks—just a handful of simple ingredients, a little patience, and a craving for melt-in-your-mouth sweetness. If you’re a beginner, don’t sweat it! I’ve tested this recipe a dozen times (okay, maybe more), and I’ve ironed out all the little hiccups that pop up when you’re trying to get that silky, creamy texture just right.
Whether you’re making this fudge for a holiday treat, a potluck, or just because you want something delicious to nibble on, this very vanilla fudge recipe is a guaranteed hit. It’s perfect for busy families—kids love to help with the stirring—and it’s a lifesaver for anyone wanting an easy, homemade sweet treat. Plus, the vanilla flavor is so rich and pure that you’ll never go back to store-bought fudge again. As a recipe developer and self-confessed fudge fanatic, I’ve made every mistake (burnt sugar, gritty texture, fudge that won’t set), so you can trust these steps. Ready to feel like a fudge-making pro?
Why You’ll Love This Recipe
I can’t count how many times this very vanilla fudge recipe has saved me—from last-minute dessert emergencies to those late-night sugar cravings. It’s not just delicious, it’s reliable. Here’s why you’ll fall for this treat, too:
- Quick & Easy: Comes together in under 20 minutes (plus a bit of chill time) which means you can whip it up even on a tight schedule.
- Simple Ingredients: No weird stuff here—you probably have everything in your pantry already. No need for a special grocery trip!
- Perfect for Any Occasion: This fudge is a superstar for holidays, birthdays, bake sales, or just cozy afternoons when you want something sweet.
- Crowd-Pleaser: It’s creamy, rich, and just the right amount of sweet. I’ve never met a kid (or adult) who didn’t go back for seconds.
- Unbelievably Delicious: The pure vanilla flavor is front and center, with a smooth, melt-in-your-mouth texture that’s seriously addictive.
What makes this very vanilla fudge recipe different from the rest? It’s all about technique. I blend the vanilla in at just the right moment so the flavor stays bold and doesn’t get lost. Plus, using high-quality white chocolate and a splash of sweetened condensed milk means you get that perfect balance of creamy and sweet. No grainy, chalky fudge here—just pure, silky goodness.
Let’s face it, most fudge recipes can be finicky, but this one is forgiving. It’s my go-to for stress-free entertaining, and it’s the kind of treat that makes people ask for your “secret” recipe. If you want comfort food with zero hassle, this is it. Whether you’re sharing with friends or sneaking a piece for yourself, you’ll love how simple and satisfying this fudge is. Go ahead—make a batch and watch it disappear!
Ingredients Needed
This very vanilla fudge recipe is all about using everyday ingredients to create something extraordinary. You don’t need anything fancy, but a few choices can make all the difference. Here’s what you’ll need:
- For the Fudge Base:
- 2 cups (340g) high-quality white chocolate chips (I like Ghirardelli or Guittard for their smooth texture)
- 1 (14-ounce / 396g) can sweetened condensed milk (not evaporated milk!)
- 4 tablespoons (56g) unsalted butter, cut into cubes (adds richness and creaminess)
- 1/4 teaspoon fine sea salt (balances the sweetness)
- For the Vanilla Flavor:
- 2 teaspoons pure vanilla extract (Nielsen-Massey is my go-to; the flavor really shines)
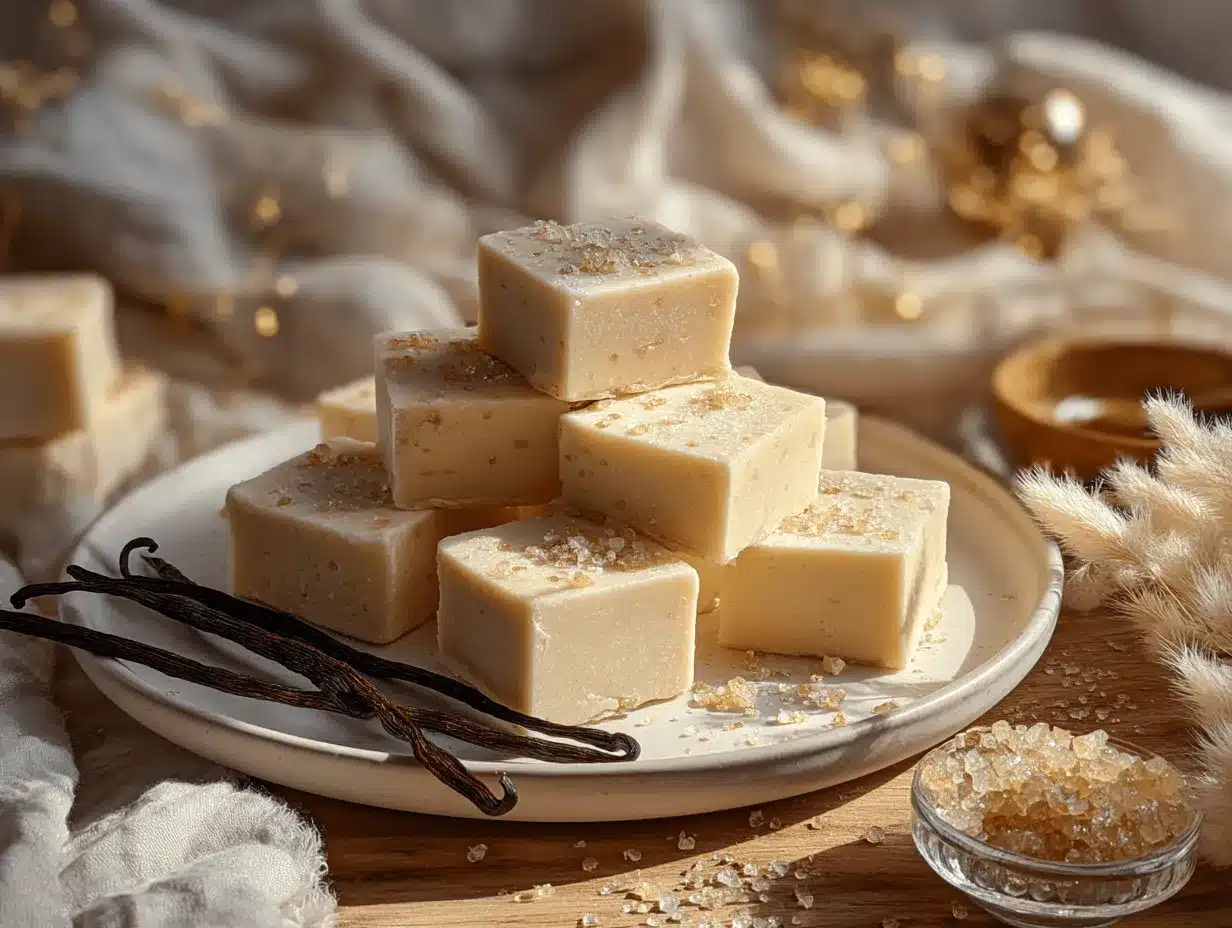
- Seeds from 1 vanilla bean (optional, but wow does it boost the flavor and those little flecks look beautiful!)
- For the Topping (optional):
- White chocolate shavings or curls (for extra decadence and a pretty finish)
- Sprinkles or crushed cookies (perfect if you’re making this for kids!)
If you’re out of white chocolate chips, a chopped white chocolate bar works just as well. For a dairy-free version, swap in coconut sweetened condensed milk and plant-based butter. The vanilla bean is totally optional, but it’s my secret weapon for making this fudge taste like something from a fancy bakery.
Don’t have vanilla extract? Try almond extract for a twist, or use vanilla paste for a more concentrated flavor. If you want to make this gluten-free, just double-check your chocolate and sprinkles for hidden wheat ingredients. Honestly, you can play around a lot—sometimes I’ll add a pinch of cinnamon or a handful of toasted nuts for crunch. Pantry staples, a couple of upgrades, and you’re set!
Equipment Needed
Good news: making very vanilla fudge doesn’t need a kitchen full of gadgets. Here’s what you’ll need, plus some personal tips:
- Medium saucepan: Any sturdy pan will do, but I love my heavy-bottomed stainless steel for even heat. If all you’ve got is a basic nonstick, just watch closely so nothing scorches.
- Heat-proof spatula or wooden spoon: Silicone spatulas are great for scraping every last bit. Wooden spoons work in a pinch but can pick up scents over time.
- 8×8-inch (20x20cm) baking pan: Glass or metal both work. If you want thicker fudge, use a loaf pan instead. For easy removal, line with parchment paper.
- Mixing bowl: Optional, but helpful if you want to stir in toppings or mix outside the hot pan.
- Measuring cups and spoons: Accuracy matters for fudge—trust me, I learned the hard way!
- Sharp knife: For slicing the finished fudge into neat squares. A bench scraper also works (and is easier for sticky fudge).
If you don’t have parchment, butter the pan generously. For specialty tools like an offset spatula, they’re handy but not essential. I once used a soup ladle to spread fudge—imperfect, but it worked! Just make sure your tools are clean and dry for best results. Budget tip: I’ve bought most of my kitchen basics at thrift stores, and they work just fine.
Preparation Method
- Prep your pan: Line an 8×8-inch (20x20cm) baking pan with parchment paper, leaving an overhang for easy lifting. Lightly butter the paper for extra insurance. (If you skip this, fudge might stick!)
- Melt the base: In a medium saucepan, combine 2 cups (340g) white chocolate chips, 1 (14-ounce/396g) can sweetened condensed milk, and 4 tablespoons (56g) unsalted butter. Set over low heat—patience is key! Stir constantly with a silicone spatula for 5-7 minutes until smooth and melted. If mixture looks lumpy, lower the heat and keep stirring. (Don’t walk away; chocolate burns fast.)
- Add salt and vanilla: Once melted and silky, remove from the heat. Add 1/4 teaspoon fine sea salt, 2 teaspoons pure vanilla extract, and seeds from 1 vanilla bean (if using). Stir vigorously for 1 minute to fully incorporate and bring out the vanilla aroma. The fudge should look glossy and thick.
- Pour and smooth: Immediately pour the warm fudge into your prepared pan. Use a spatula to spread evenly into corners. If you want a super smooth top, tap the pan gently on the counter.
- Optional toppings: Sprinkle white chocolate shavings, sprinkles, or crushed cookies on top while fudge is still soft. Press gently so they stick. (Kids love helping with this step!)
- Set the fudge: Chill the pan in the refrigerator for at least 2 hours, or until firm to the touch. Overnight is best if you want perfect slices. If you’re in a rush, pop it in the freezer for 45 minutes—but watch for condensation when thawing.
- Slice and serve: Lift the fudge out using the parchment overhang. Cut into 1-inch (2.5cm) squares with a sharp knife. Wipe between cuts for clean edges. You’ll get about 36 pieces, depending on how you slice.
Troubleshooting: If fudge doesn’t set, it may need more chill time or the chocolate wasn’t melted enough. If you notice graininess, stir longer next time and keep the heat low. The color should be pale ivory and the texture smooth—if it’s dry or crumbly, double-check your measurements next time. My trick for ultra-creamy fudge? Add the vanilla off-heat and don’t over-stir once it’s poured. Little things make a big difference!
Cooking Tips & Techniques
Making fudge can feel intimidating, but this very vanilla fudge recipe is pretty forgiving if you follow a few tips:
- Low and slow wins: Don’t rush the melting step. White chocolate can scorch so easily; I learned the hard way (burnt fudge = sad fudge!). Stir continuously and keep the heat low.
- Use fresh ingredients: Old chocolate chips or butter can mess with the texture. Always check dates before you start.
- Taste as you go: I always dip a spoon in after adding vanilla—sometimes a splash more makes all the difference.
- Don’t overheat: If you overcook the base, fudge can become grainy. As soon as everything’s melted and smooth, pull the pan off the heat.
- Line your pan: Parchment paper is your best friend—no more chiseling fudge out of the corners.
- Multitask wisely: While fudge chills, clean up and prep toppings. I usually set a timer so I don’t forget it in the fridge (been there, done that).
- Consistency is key: Use the same brands of chocolate and condensed milk for repeat batches. Tiny differences can change the final texture.
Common mistakes? Not stirring enough, overheating, or skipping the salt. Each time I’ve messed up, it’s been from impatience. Take your time and watch for visual cues—the fudge should be silky, not oily or separated. If you ever end up with a batch that won’t set, crumble it over ice cream (trust me, it’s still delicious).
Pro tip: If you want extra-smooth fudge, sift the salt and vanilla bean seeds before adding. These little touches make a difference—the kind only trial and error can teach you!
Variations & Adaptations
This very vanilla fudge recipe is a blank canvas for creativity. Here are some favorite twists (and a few I’ve tried myself):
- Dairy-Free: Use coconut sweetened condensed milk and vegan butter. Swap white chocolate chips for dairy-free ones (Enjoy Life is a good brand).
- Low-Sugar: Use sugar-free white chocolate chips and unsweetened condensed milk. The texture may be slightly softer, but the vanilla flavor still pops.
- Nutty Vanilla Fudge: Stir in 1/2 cup (60g) toasted chopped pecans or almonds before pouring into the pan. Adds great crunch and flavor!
- Seasonal Flavors: In winter, add a pinch of cinnamon or pumpkin pie spice. In summer, mix in freeze-dried strawberries or blueberries.
- Chocolate Swirl: Melt 1/2 cup (85g) dark chocolate, swirl into the fudge before setting for a marbled look and extra depth.
- Gluten-Free: Most fudge is naturally gluten-free, but check all ingredients (especially toppings) if you’re serving guests with allergies.
One personal favorite? I once added a handful of crushed peppermint candies during the holidays—instant festive fudge! You can also change toppings to suit any celebration—sprinkles for birthdays, edible glitter for New Year’s, or colored sugar for Valentine’s Day. The recipe is super flexible, so make it yours!
Serving & Storage Suggestions
There’s something special about serving very vanilla fudge chilled, straight from the fridge—the texture is firm and the flavor is extra creamy. Slice into neat squares and arrange on a pretty platter (or, let’s be honest, pile into a bowl for movie night snacking!).
This fudge pairs perfectly with strong coffee, black tea, or even a little glass of milk. For a dessert spread, serve alongside fresh berries, chocolate-dipped pretzels, or your favorite cookies. If you’re gifting, wrap individual squares in wax paper or pop them in a festive tin—they travel well!
Store leftovers in an airtight container in the fridge for up to 2 weeks. For longer storage, freeze fudge in layers separated by parchment for up to 2 months. Thaw in the fridge overnight before serving. To reheat (if you want a gooey treat), microwave a square for 5-10 seconds—just enough to soften, not melt. Pro tip: The vanilla flavor actually deepens after a day or two in the fridge, so sometimes I make it ahead for extra oomph.
Nutritional Information & Benefits
Estimated per serving (1 square):
- Calories: 110
- Fat: 6g
- Sugar: 12g
- Protein: 1g
- Carbohydrates: 15g
Vanilla fudge is a treat, so I don’t pretend it’s health food—but there are some upsides! Vanilla has natural calming properties, and the recipe is gluten-free if you watch your toppings. If you use coconut condensed milk, it’s suitable for dairy-free diets. Watch out for potential allergens: dairy, soy (in some chocolates), and additives in sprinkles.
Personally, I love that making my own fudge means I control the quality of ingredients and sweetness. It’s a great way to enjoy a sweet treat without preservatives or artificial flavors. Moderation is key, but hey, life’s too short to skip dessert!
Conclusion
Let’s be real: this very vanilla fudge recipe is the homemade treat you didn’t know you needed. It’s simple, fuss-free, and packed with that dreamy vanilla flavor that just makes everything better. Whether you’re a beginner or a seasoned baker, you’ll knock this one out of the park—no candy thermometer required.
I love how customizable this fudge is. Add your favorite toppings, switch up the extracts, or play with seasonal flavors. Every batch feels a little different, and that’s half the fun! This recipe’s become a staple in my kitchen because it’s reliable, crowd-pleasing, and always delivers that “wow” moment.
If you try it, drop a comment below and let me know your twist! Share with friends, pin for later, or tag me on social media—I love seeing your fudge creations. Grab your saucepan and get stirring—your sweet tooth will thank you!
Frequently Asked Questions
How do I keep fudge from getting grainy?
Stir constantly over low heat and don’t overcook. If it does get grainy, try melting everything a bit longer and add a splash more condensed milk.
What’s the best way to slice fudge neatly?
Chill completely, then use a sharp knife wiped clean between cuts. A bench scraper works great for straight edges!
Can I double this very vanilla fudge recipe?
Absolutely! Use a 9×13-inch (23x33cm) pan and double all ingredients. Chill time may be a bit longer.
My fudge didn’t set—what can I do?
Try chilling it longer or freezing for 30 minutes. Next time, make sure to measure ingredients carefully and melt until completely smooth.
Can I use other extracts besides vanilla?
Yes! Almond, peppermint, or coconut extracts work well for fun twists. Just use 1 to 1.5 teaspoons so the flavor isn’t overwhelming.
Pin This Recipe!

Very Vanilla Fudge Recipe: Easy Homemade Sweet Treat for Beginners
- Total Time: 2 hours 20 minutes
- Yield: 36 pieces (about 12 servings) 1x
Description
This very vanilla fudge is a quick, creamy, and melt-in-your-mouth treat perfect for beginners. No candy thermometer needed—just simple ingredients and a few easy steps for a crowd-pleasing dessert.
Ingredients
- 2 cups (340g) high-quality white chocolate chips
- 1 (14-ounce / 396g) can sweetened condensed milk
- 4 tablespoons (56g) unsalted butter, cut into cubes
- 1/4 teaspoon fine sea salt
- 2 teaspoons pure vanilla extract
- Seeds from 1 vanilla bean (optional)
- White chocolate shavings or curls (optional, for topping)
- Sprinkles or crushed cookies (optional, for topping)
Instructions
- Line an 8×8-inch (20x20cm) baking pan with parchment paper, leaving an overhang for easy lifting. Lightly butter the paper.
- In a medium saucepan, combine white chocolate chips, sweetened condensed milk, and unsalted butter. Set over low heat and stir constantly with a silicone spatula for 5-7 minutes until smooth and melted.
- Remove from heat. Add sea salt, vanilla extract, and vanilla bean seeds (if using). Stir vigorously for 1 minute until fully incorporated.
- Pour the warm fudge into the prepared pan and spread evenly. Tap the pan gently to smooth the top.
- Add optional toppings: sprinkle white chocolate shavings, sprinkles, or crushed cookies on top and press gently.
- Chill in the refrigerator for at least 2 hours, or until firm. For best results, chill overnight. Alternatively, freeze for 45 minutes if in a rush.
- Lift fudge out using parchment overhang. Cut into 1-inch squares with a sharp knife, wiping between cuts for clean edges. Yields about 36 pieces.
Notes
For ultra-creamy fudge, add vanilla off-heat and avoid over-stirring once poured. Use high-quality chocolate and fresh ingredients for best texture. Fudge can be customized with toppings or extracts. Store in an airtight container in the fridge for up to 2 weeks, or freeze for up to 2 months.
- Prep Time: 10 minutes
- Cook Time: 7 minutes
- Category: Dessert
- Cuisine: American
Nutrition
- Serving Size: 1 square (about 1x1 inch)
- Calories: 110
- Sugar: 12
- Sodium: 40
- Fat: 6
- Saturated Fat: 4
- Carbohydrates: 15
- Protein: 1
Keywords: vanilla fudge, easy fudge, homemade fudge, beginner fudge recipe, white chocolate fudge, sweet treat, holiday dessert, gluten-free fudge