The first time I whipped up this no bake protein bar recipe, the aroma of peanut butter and honey mixing together instantly took over my kitchen, and honestly, I had to stop myself from eating the “dough” right out of the bowl! There’s something about homemade healthy snack bars that just feels cozy and satisfying—maybe it’s knowing exactly what goes into them, or maybe it’s just the fact that you can sneak a taste before they set. This recipe for easy no bake protein bars is my go-to whenever I need a quick, nourishing snack that doesn’t taste like cardboard (you know what I mean if you’ve ever tried some of those store-bought ones).
I first started making these when I was training for a half marathon and needed something portable, filling, and not overloaded with sugar. After a bunch of trial and error—seriously, I must have made a dozen versions—this became my staple. The best part? These protein bars require zero baking, which means less time in the kitchen and more time doing, well, anything else! If you’re a busy parent, student, or just someone who likes to snack smart, you’ll love how these fit into your day.
This no bake protein bar recipe is a total game-changer for anyone who wants to eat healthy without fuss. They’re packed with wholesome ingredients, customizable based on what you have at home, and honestly, they taste like dessert but keep you full for hours. I’m always amazed at how a handful of pantry staples can come together for something this delicious. Whether you’re looking for a post-workout bite, a lunchbox favorite for picky eaters, or just a 3pm pick-me-up, these homemade protein bars check every box.
Trust me—I’ve shared these with skeptical friends, fitness clients, and even my own kids, and they’re always a hit. After making these easy no bake protein bars dozens of times, I can confidently say you’ll want to keep a batch in your fridge at all times!
Why You’ll Love This Easy No Bake Protein Bar Recipe
- Quick & Easy: These no bake protein bars come together in under 15 minutes—no oven, no waiting around, just mix and press into a pan.
- Simple Ingredients: No weird additives or impossible-to-pronounce stuff—just pantry staples like oats, nut butter, honey, and your favorite protein powder.
- Perfect for Any Occasion: Ideal for breakfast on-the-go, post-workout fuel, after-school snacks, or even a healthier dessert option.
- Crowd-Pleaser: Both adults and kids love these bars—trust me, I’ve made them for picky eaters and they always disappear fast!
- Unbelievably Delicious: The chewy texture, rich flavor, and just-right sweetness make these feel like a treat—but without the sugar crash.
What really sets this no bake protein bar recipe apart is how flexible and forgiving it is. Unlike some recipes that get fussy about measurements, this one welcomes a little improvisation. Swap almond butter for peanut butter, use maple syrup instead of honey, or throw in a handful of chocolate chips—these bars are as adaptable as your cravings.
I’ve learned a few tricks over the years to get them just right. For example, blending the oats a bit before mixing gives a smoother texture, and pressing the mixture firmly into the pan helps the bars hold together (nobody likes crumbly snack bars, right?). This recipe isn’t just another protein bar—it’s the one I come back to week after week, and the one my friends always ask for.
There’s something comforting about having a healthy snack on hand that actually tastes amazing. These bars are proof that eating well doesn’t mean giving up on flavor or fun. Whether you’re a meal-prep pro or a kitchen newbie, you’ll feel like a snack-making superstar with this no bake protein bar recipe. I hope you love it as much as my family and I do!
Ingredients Needed for Delicious Homemade Protein Bars
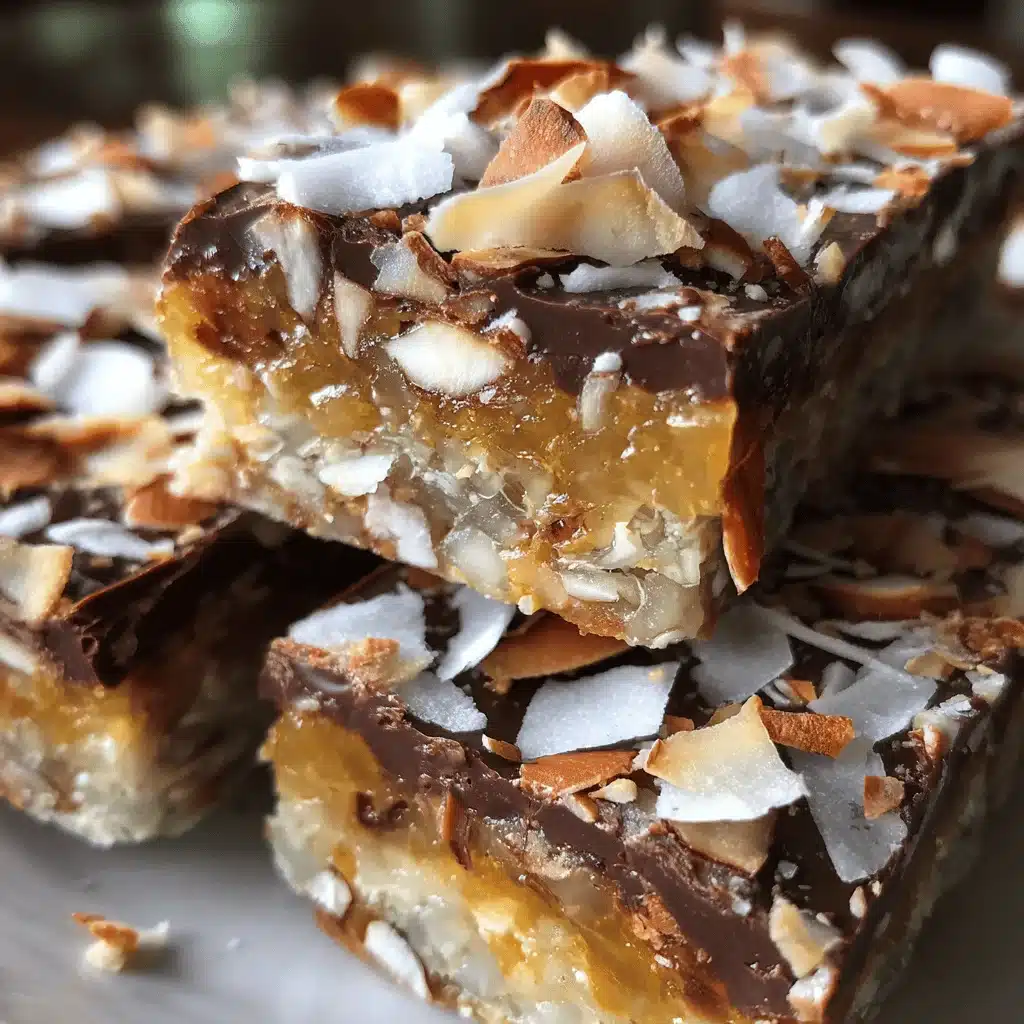
This recipe uses simple, wholesome ingredients to deliver big flavor and a satisfying, chewy bite—no fancy health food store trip required. You probably have most of these on hand!
- Old-fashioned rolled oats (2 cups / 200g): These form the backbone of the bars, adding texture and fiber. For a smoother bar, pulse them a few times in a food processor.
- Protein powder (1 cup / 100g): Use your favorite brand and flavor (I love vanilla or chocolate). Whey, plant-based, or collagen all work—just keep an eye on sweetness and adjust as needed.
- Nut butter (3/4 cup / 180g): Peanut, almond, or cashew butter all work. I usually use natural peanut butter for that classic flavor. If you need nut-free, sunflower seed butter is a great swap.
- Honey or maple syrup (1/2 cup / 120ml): Acts as both a natural sweetener and binder. Maple syrup gives a deeper, caramel flavor, while honey is a bit lighter and more floral.
- Chia seeds (2 tbsp / 20g): Optional, but they help bind the bars and add a tiny crunch, plus a healthy dose of omega-3s.
- Mini chocolate chips (1/4 cup / 40g): Totally optional, but highly recommended for a little extra fun! I use dark chocolate chips for a richer flavor.
- Pinch of salt: Even if your nut butter is salted, a little extra brings all the flavors together.
- Vanilla extract (1 tsp / 5ml): Adds warmth and depth—skip if your protein powder is already strongly flavored.
Ingredient Tips:
- For gluten-free bars, make sure to use certified gluten-free oats and a gluten-free protein powder.
- If you want a lower-sugar bar, use a stevia-sweetened syrup or reduce the honey/maple a bit (you might need to add a splash of milk if the mix is too dry).
- For extra crunch, toss in some chopped nuts, seeds, or unsweetened coconut flakes.
- I usually pick Bob’s Red Mill oats and Orgain plant-based protein powder, but use what you like best.
This no bake protein bar recipe is super forgiving—don’t be afraid to substitute or add your own twist depending on your taste and pantry. Honestly, sometimes the “clean out the cupboard” version ends up being the best!
Equipment Needed for Easy No Bake Protein Bars
- Mixing bowl: A large bowl is best for combining the ingredients without making a mess.
- Spatula or sturdy spoon: For mixing the thick batter—trust me, wooden spoons work great here.
- 8×8 inch (20x20cm) baking pan or dish: This size gives you bars that are just the right thickness—if you only have a 9×9 inch pan, your bars will be a touch thinner, but still delicious.
- Parchment paper: Lining your pan makes it so much easier to lift the bars out (no sticking, no drama).
- Measuring cups and spoons: For accurate scooping—though this recipe is pretty forgiving if you’re eyeballing a bit.
If you don’t have a square baking pan, you can use a loaf pan for thicker bars or even a pie plate (you’ll just have fun-shaped pieces). For mixing, if you’re doubling the recipe, I sometimes use my stand mixer—but usually, a sturdy bowl and elbow grease does the trick.
Cleaning tip: If nut butter sticks to your measuring cup, a light spray of oil first makes it slide right out. And if you’re using parchment paper, save it for a second batch—these bars are that addictive.
How to Make No Bake Protein Bars (Step-by-Step Preparation)
-
Prepare your pan: Line an 8×8 inch (20x20cm) baking pan with parchment paper, leaving a little overhang on the sides for easy removal later.
Tip: If you don’t have parchment, lightly grease the pan with coconut oil or nonstick spray. -
Mix dry ingredients: In a large mixing bowl, combine 2 cups (200g) rolled oats, 1 cup (100g) protein powder, 2 tbsp (20g) chia seeds (if using), and a pinch of salt. Stir well to evenly distribute everything.
Note: If you prefer a smoother texture, pulse the oats in a food processor for a few seconds before adding. -
Combine wet ingredients: In a microwave-safe bowl, add 3/4 cup (180g) nut butter and 1/2 cup (120ml) honey or maple syrup. Microwave for 20-30 seconds, just until slightly warm and pourable. Stir in 1 tsp (5ml) vanilla extract.
Warning: Don’t overheat, or the mixture will separate and become greasy. -
Mix wet and dry: Pour the warmed nut butter mixture over the dry ingredients. Use a spatula or wooden spoon to mix until everything is evenly combined. The mixture will be thick—get in there and use some muscle!
Troubleshooting: If the mixture seems too dry or crumbly, add 1-2 tbsp of milk (any kind) until it sticks together. If too wet, sprinkle in a bit more oats or protein powder. - Add chocolate chips: Let the mixture cool for 1-2 minutes, then gently fold in 1/4 cup (40g) mini chocolate chips. (If you add them while it’s too warm, they’ll melt and swirl—still tasty, but messier.)
-
Press into pan: Transfer the mixture to your prepared pan. Use a spatula, clean hands, or the back of a spoon to press it firmly and evenly into all corners.
Tip: Lay another piece of parchment on top and use a flat-bottomed glass to press for ultra-dense bars. -
Chill: Place the pan in the fridge for at least 1 hour, or in the freezer for 20-30 minutes, until firm.
Note: The longer they chill, the easier they are to slice cleanly. - Slice and enjoy: Lift the set block out of the pan using the parchment overhang. Place on a cutting board and slice into 12 bars or 16 squares. Store in an airtight container in the fridge.
Extra tip: To keep bars from sticking to each other in storage, layer them with small pieces of parchment paper.
I sometimes double this recipe on Sundays, cut half into bars, and freeze the rest for later—never had a batch last more than a week in my house!
Cooking Tips & Techniques for Perfect Protein Bars
- Don’t skip the parchment paper: This makes removing and slicing the bars so much easier—trust me, I’ve tried to hack it without, and it’s way messier.
- Mix thoroughly: Be sure to combine everything well, especially at the corners of your bowl. Any dry pockets of oats will make the bars crumble.
- Chill long enough: Bars firm up as they cool, so don’t rush this step. If you try to cut them too soon, they’ll fall apart (been there, done that—learned my lesson!).
- Add chocolate chips last: Mixing them in while the mixture is hot will create chocolate swirls. If you want them intact, wait a couple minutes before adding.
- Customize texture: For chewier bars, use all rolled oats. For a softer bar, pulse half the oats in a food processor first.
- Watch your protein powder: Some protein powders are super absorbent, so if your mix is too dry, just add a splash of milk until it sticks together.
- Batch prep: These bars freeze beautifully—just slice and wrap individually for grab-and-go snacks all week.
One lesson I learned the hard way: if your nut butter is super thick, microwave it a bit longer so it’s pourable. Otherwise, it’s a real arm workout to get everything mixed. And if you want to get “fancy,” drizzle melted chocolate over the top before chilling—it looks amazing and tastes even better!
Variations & Adaptations for Homemade Protein Bars
One of my favorite things about this no bake protein bar recipe is how easy it is to tweak for different diets, flavors, or seasons. Here are some of my best tried-and-true swaps:
- Gluten-Free: Use certified gluten-free oats and double-check your protein powder is gluten-free. All other ingredients are naturally gluten-free!
- Vegan: Swap honey for pure maple syrup or agave, and use a plant-based protein powder.
- Nut-Free: Replace nut butter with sunflower seed butter or tahini, and skip the nuts in add-ins.
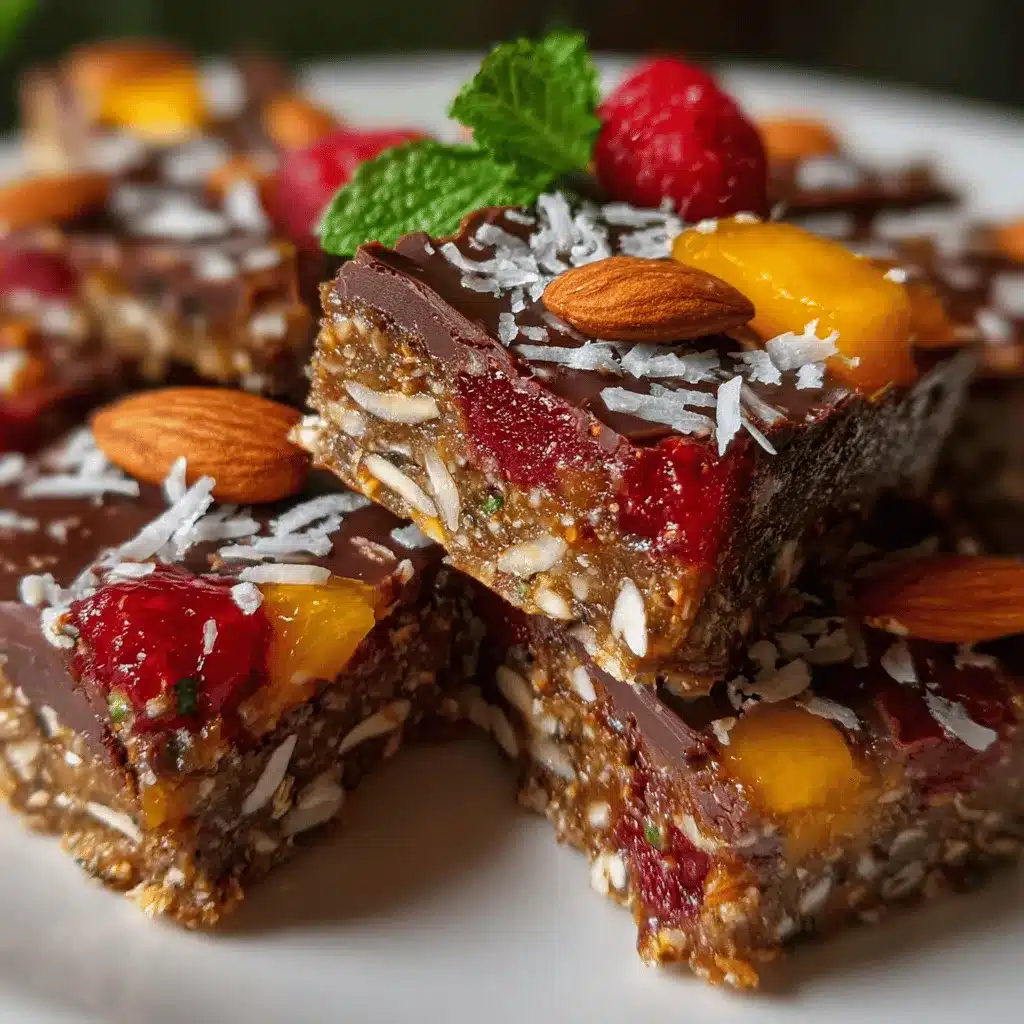
- Seasonal Twist: In fall, add a teaspoon of pumpkin pie spice and a handful of dried cranberries. For summer, try lemon zest and dried blueberries.
- Flavor Variations: Stir in coconut flakes, chopped nuts, or swap chocolate chips for white chocolate or dried cherries. Cinnamon and a splash of almond extract totally change the vibe!
- Different Cooking Methods: For a firmer bar, chill in the freezer and eat straight from there (great for hot weather). If you want more of a “cookie dough” texture, cut back a little on the protein powder and eat them as no bake bites.
Personally, my favorite variation is swapping half the oats for puffed rice cereal—gives them a light, crispy texture that’s a total hit with kids. Honestly, there’s no wrong way to make these your own!
Serving & Storage Suggestions
These easy no bake protein bars are best served chilled or at room temperature—straight from the fridge, they’re firm and chewy, but if you let them warm up for a few minutes, they soften up and taste almost like cookie dough. For a quick breakfast, pair with a Greek yogurt cup or a smoothie. They’re also awesome with a mug of coffee or a cold glass of almond milk for an afternoon snack.
To store, keep bars in an airtight container in the fridge for up to 10 days. For longer storage, wrap individually and freeze for up to 3 months—just thaw for 10 minutes before eating. If you’re packing them for lunchboxes or hikes, tuck a cold pack in your bag on hot days to prevent melting. The flavors actually deepen after a day or two, so don’t be surprised if they taste even better by midweek!
Nutritional Information & Benefits
Each bar (based on 12 bars per batch) has approximately 180-210 calories, 9-12g protein, 6-8g healthy fats, and 4-6g fiber, depending on your exact ingredients. The combination of oats, protein powder, and nut butter provides lasting energy and keeps you satisfied between meals. Chia seeds add omega-3s and fiber, while honey or maple syrup brings natural sweetness without spiking your blood sugar.
This no bake protein bar recipe is naturally gluten-free (if you use the right oats), can be made vegan, and is free from refined sugar. If you have nut allergies, simply swap the nut butter for a safe alternative. I love knowing exactly what’s in my snacks—makes healthy eating feel a lot more doable!
Conclusion
There’s a reason this no bake protein bar recipe has become a staple in my kitchen—it’s simple, fast, and endlessly customizable. Whether you want healthy homemade snack bars for meal prep, post-gym fuel, or just a sweet treat that won’t wreck your goals, these bars always deliver.
I love how easy it is to riff on the basic recipe and make it your own. Don’t be afraid to toss in your favorite add-ins or swap ingredients based on what you’ve got. It’s snack food without the stress—and, honestly, the best way to stay fueled and happy throughout the day.
If you try this recipe, let me know how it goes in the comments below—did you add a fun twist? Did your family love them? Share your photos and tips, and tag me on social media! Here’s to healthy snacking that actually tastes amazing. Happy no-baking!
Frequently Asked Questions: No Bake Protein Bar Recipe
How do I keep my no bake protein bars from falling apart?
The trick is to press the mixture really firmly into the pan and chill long enough—at least an hour in the fridge. If your mix seems too dry, add a tablespoon or two of milk or extra honey/maple syrup until it holds together.
Can I make these protein bars vegan?
Absolutely! Just use maple syrup or agave instead of honey, and opt for a plant-based protein powder. They taste just as good!
What’s the best protein powder for homemade bars?
I usually use vanilla or chocolate whey or plant-based protein. Most brands work, but watch for super sweet or gritty ones. If you’re new to protein powder, try a small batch to see if you like the flavor.
Can I freeze these bars for later?
Yes! Slice and wrap each bar in parchment paper or plastic wrap, then freeze in an airtight container. They’ll last up to 3 months and thaw quickly at room temp or in your lunchbox.
Are these bars safe for kids?
Definitely! Just be mindful of nut allergies, and choose a protein powder you trust. You can even use a little less protein powder and more oats for younger kids if you prefer.
Pin This Recipe!
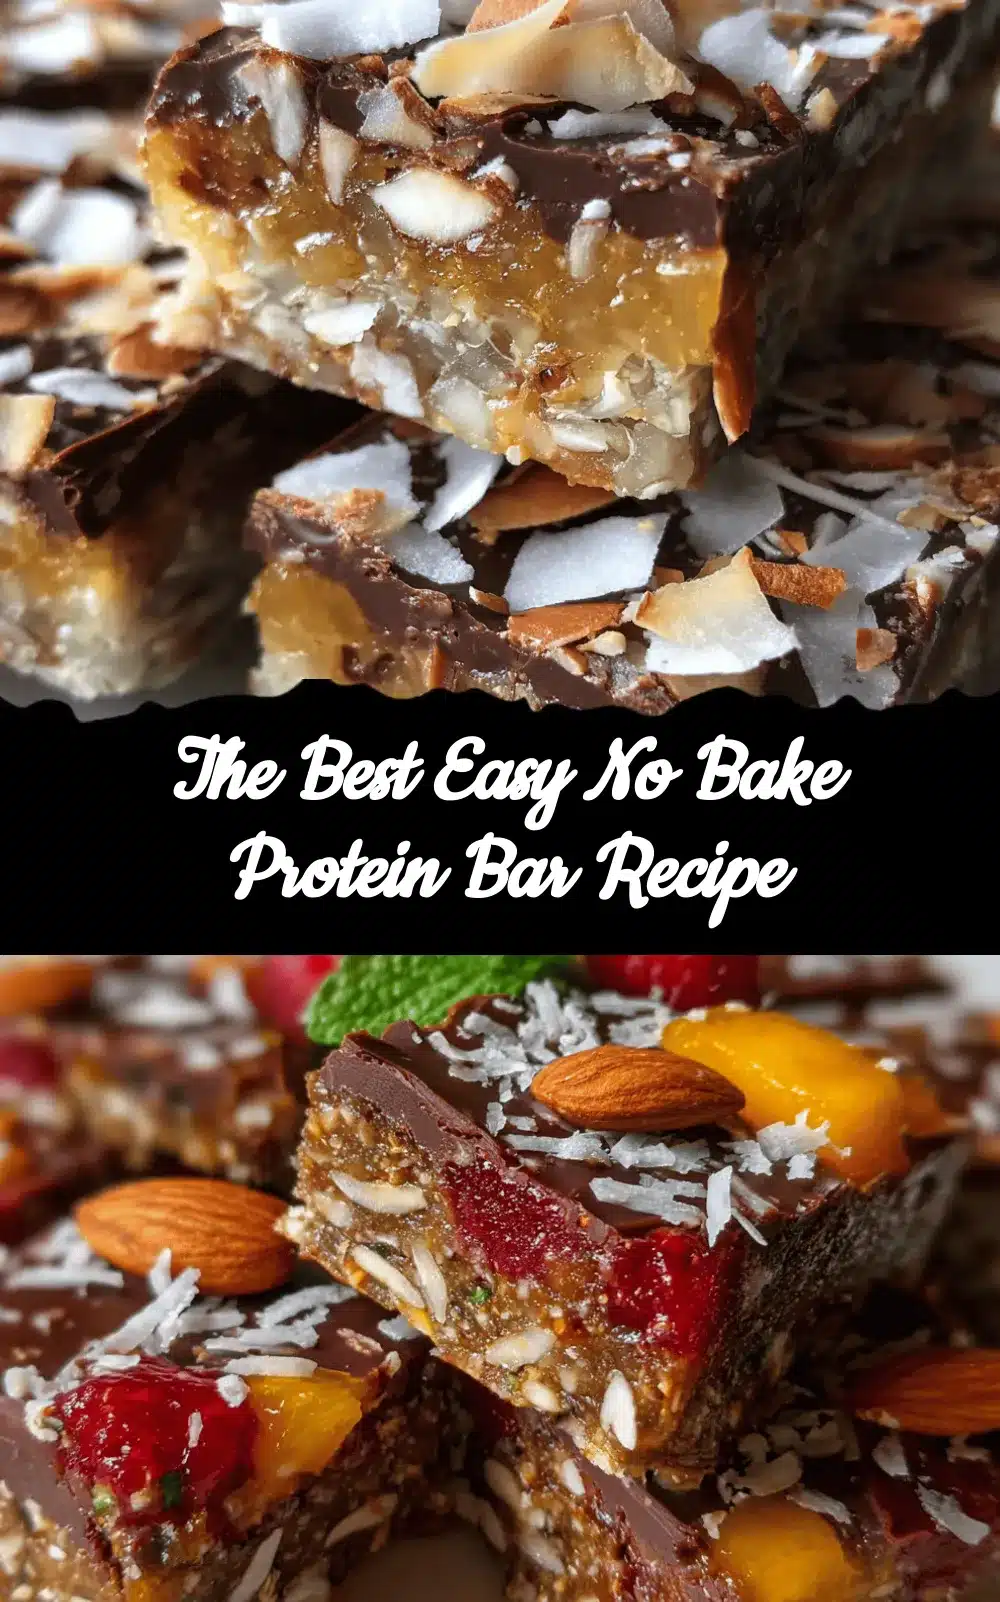

No Bake Protein Bar Recipe Easy Homemade Healthy Snack Bars
- Total Time: 1 hour 10 minutes (includes chilling time)
- Yield: 12 bars 1x
Description
These easy no bake protein bars are a healthy, homemade snack packed with oats, nut butter, honey or maple syrup, and your favorite protein powder. They come together in minutes, require no baking, and are endlessly customizable for any diet or flavor preference.
Ingredients
- 2 cups old-fashioned rolled oats (200g)
- 1 cup protein powder (100g, vanilla or chocolate, whey or plant-based)
- 3/4 cup nut butter (180g, peanut, almond, or cashew; sunflower seed butter for nut-free)
- 1/2 cup honey or maple syrup (120ml)
- 2 tablespoons chia seeds (20g, optional)
- 1/4 cup mini chocolate chips (40g, optional, dark chocolate preferred)
- Pinch of salt
- 1 teaspoon vanilla extract (5ml, optional)
Instructions
- Line an 8×8 inch (20x20cm) baking pan with parchment paper, leaving overhang for easy removal.
- In a large mixing bowl, combine rolled oats, protein powder, chia seeds (if using), and a pinch of salt. Stir to mix.
- In a microwave-safe bowl, add nut butter and honey or maple syrup. Microwave for 20-30 seconds until just warm and pourable. Stir in vanilla extract.
- Pour the wet mixture over the dry ingredients. Mix thoroughly with a spatula or wooden spoon until evenly combined. If too dry, add 1-2 tablespoons of milk; if too wet, add more oats or protein powder.
- Let the mixture cool for 1-2 minutes, then gently fold in mini chocolate chips.
- Transfer the mixture to the prepared pan. Press firmly and evenly into all corners using a spatula, clean hands, or the back of a spoon.
- Chill in the fridge for at least 1 hour, or in the freezer for 20-30 minutes, until firm.
- Lift the set block out of the pan using the parchment overhang. Slice into 12 bars or 16 squares.
- Store bars in an airtight container in the fridge for up to 10 days, or freeze for up to 3 months.
Notes
For gluten-free bars, use certified gluten-free oats and protein powder. For vegan, use maple syrup or agave and plant-based protein. For nut-free, use sunflower seed butter. Press mixture firmly into the pan and chill thoroughly for best texture. Customize with add-ins like coconut flakes, dried fruit, or chopped nuts. Bars freeze well for up to 3 months.
- Prep Time: 10 minutes
- Cook Time: 0 minutes
- Category: Snack
- Cuisine: American
Nutrition
- Serving Size: 1 bar (1/12 of recipe)
- Calories: 200
- Sugar: 8
- Sodium: 60
- Fat: 7
- Saturated Fat: 1.5
- Carbohydrates: 22
- Fiber: 5
- Protein: 10
Keywords: no bake protein bars, homemade protein bars, healthy snack bars, easy protein bar recipe, gluten-free protein bars, vegan protein bars, nut-free protein bars, meal prep snacks, post-workout snack, kid-friendly snacks